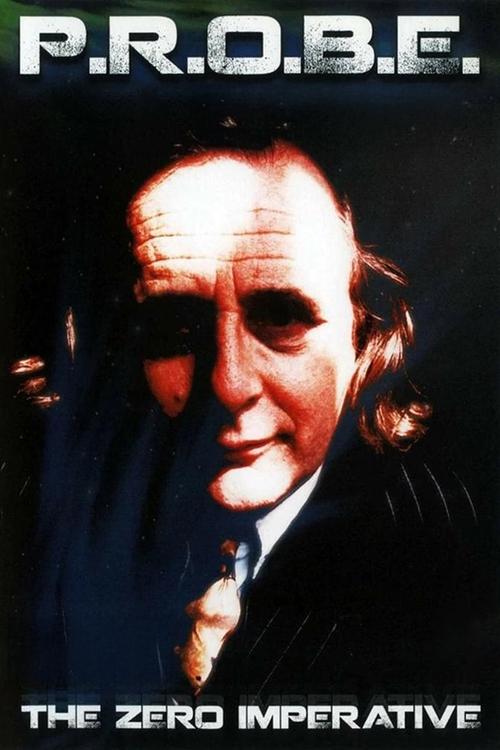
The Zero Imperative
7
1994-01-01
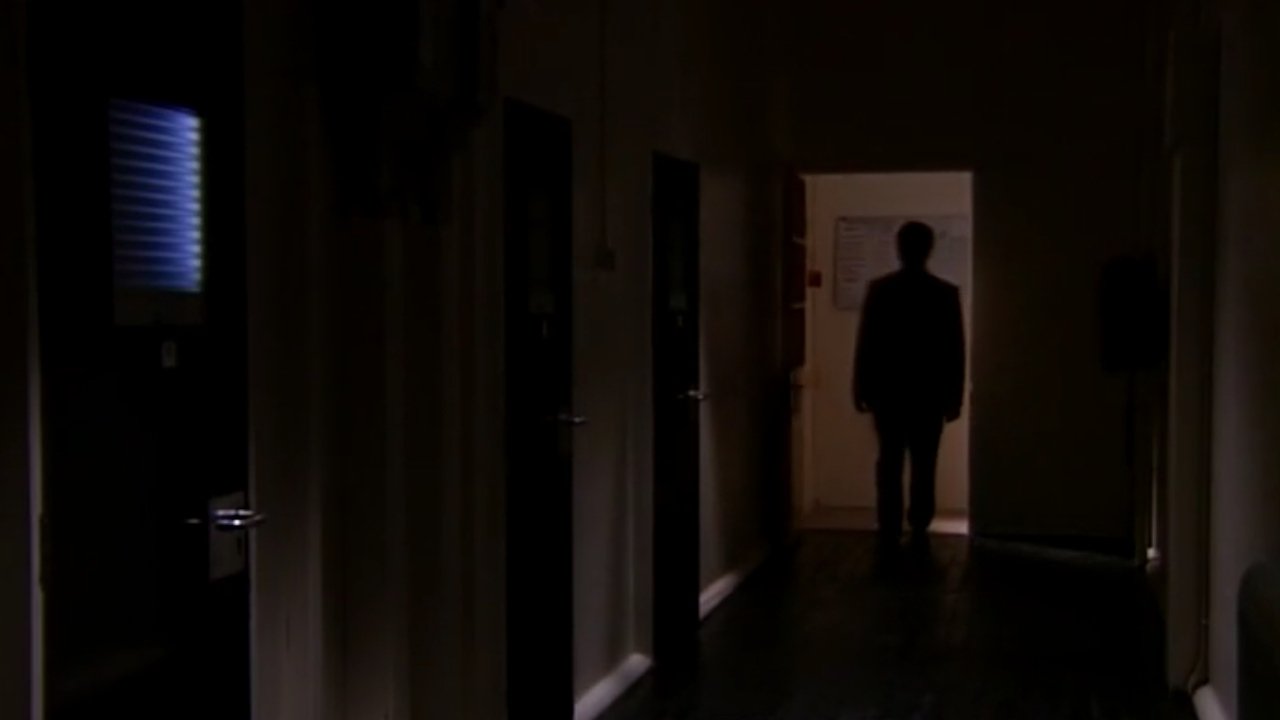
Former UNIT luminary Liz Shaw and her assistant Bayliss are investigating a series of bizarre murders, all committed near a soon-to-be-closed psychiatric hospital. When the hospital is unexpectedly reprieved by rich Industrialist Peter Russell events seem to move out of Liz's control. Are the incumbent director of the clinic, Doctor Dove and his predecessor Doctor O'Kane harboring the killer? What is the centuries-old horror hidden in the grounds? And what exactly is the secret of room zero?
Watch Trailer
OVERVIEW
VIDEOS
PHOTOS
WATCH
Storyline
Former UNIT luminary Liz Shaw and her assistant Bayliss are investigating a series of bizarre murders, all committed near a soon-to-be-closed psychiatric hospital. When the hospital is unexpectedly reprieved by rich Industrialist Peter Russell events seem to move out of Liz's control. Are the incumbent director of the clinic, Doctor Dove and his predecessor Doctor O'Kane harboring the killer? What is the centuries-old horror hidden in the grounds? And what exactly is the secret of room zero?
Released
1994-01-01
Runtime
60
Director
Bill Baggs
Budget
$0
Revenue
$0
Genres
Science Fiction
Action
Adventure
Crime
Horror
Language
English
Production
WLC Pictures
Bill and Ben Video
Casts

Caroline John
Caroline John
Jon Pertwee
Jon Pertwee
Sylvester McCoy
Sylvester McCoy
Colin Baker
Colin Baker
Mark Gatiss
Mark Gatiss
Louise Jameson
Louise Jameson
Sophie Aldred
Sophie Aldred
Linda Lusardi
Linda Lusardi
David Terence
David TerenceNicola Fulljames
Nicola FulljamesPatricia Merrick
Patricia Merrick
Jonathan Rigby
Jonathan Rigby
Alexander Kirk
Alexander KirkDaniel Mills
Daniel Mills
Peter Davison
Peter Davison